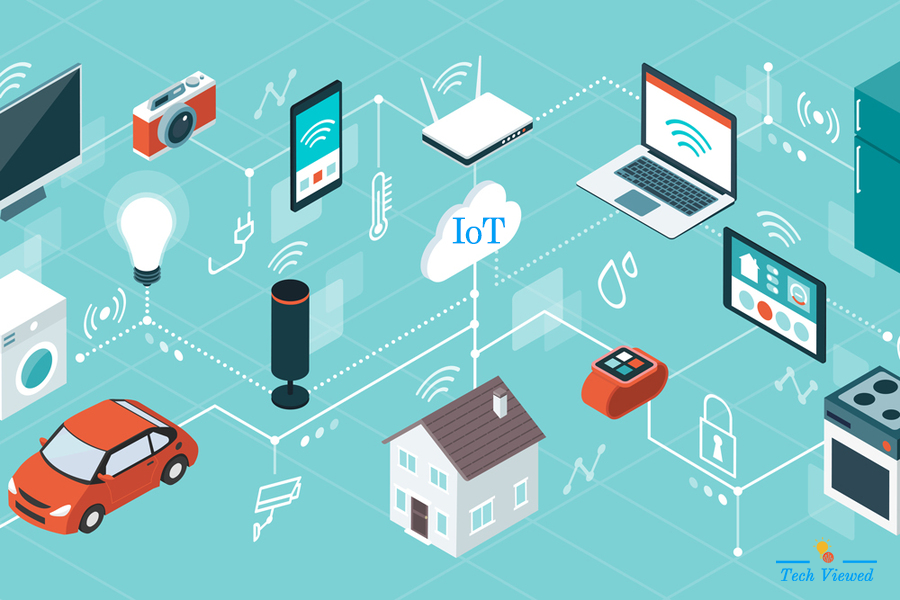
Welcome to our comprehensive step-by-step guide on implementing IoT soil moisture monitoring for your farm. Before we delve into the specifics of farm implementation, it's important to have a basic understanding of IoT (Internet of Things) technology. If you're new to IoT, we recommend starting with our beginner-friendly IoT tutorial, which provides a solid foundation on the principles and concepts of IoT.Understanding the Internet of Things: Connecting Our World,
This tutorial will give you insights into the fundamental aspects of IoT, including how devices are connected, data is collected and analyzed, and how IoT enables remote monitoring and control. By familiarizing yourself with these concepts, you'll be well-equipped to embark on the journey of implementing IoT for soil moisture monitoring on your farm.
Now, let's proceed with our comprehensive farm implementation guide, where we will explore the step-by-step process of integrating IoT technology to monitor and manage soil moisture levels, enabling efficient irrigation practices and optimal crop growth.
Step 1: Define Your Objective
Begin by clearly defining your objective for implementing IoT soil moisture monitoring on your farm. Consider the specific areas you want to monitor and control, such as crop zones, soil types, and irrigation practices. By identifying your objectives, you can tailor the implementation process to suit your farm's unique needs.

Step 2: Select Appropriate IoT Devices
Choosing the right IoT devices is crucial for accurate soil moisture monitoring. Research and select the appropriate soil moisture sensors based on their types, including resistive, capacitive, or TDR sensors. Understand their functionality, pros, and cons to make an informed decision that aligns with your farm's requirements and budget.

Step 3: Establish Connectivity
Ensure a reliable internet connection on your farm to enable seamless data transmission from the sensors to the cloud platform. Evaluate the available connectivity options such as Wi-Fi or cellular networks, and select the one that suits your farm's location and connectivity requirements.

Step 4: Sensor Deployment
Deploy the soil moisture sensors strategically across your farm. Take into account different crop zones and soil variations. Follow proper installation procedures for each sensor type, ensuring they are securely placed to collect accurate data reflecting the soil moisture levels.

Step 5: Data Collection
Configure the soil moisture sensors to collect data at regular intervals. Set the sampling frequency to capture the dynamic nature of soil moisture fluctuations. Connect the sensors to a microcontroller or IoT development board capable of data collection and transmission.

Step 6: Cloud Platform Integration
Select an IoT cloud platform that suits your needs and create an account. Integrate your microcontroller or IoT development board with the chosen platform. Configure secure communication, device credentials, and data transmission settings to establish a seamless connection.

Step 7: Data Analysis and Decision-Making
Leverage the cloud platform's data visualization and analytics tools to gain valuable insights from the collected soil moisture data. Analyze trends, patterns, and anomalies to make informed decisions regarding irrigation schedules, water management, and crop health.

Step 8: Automation and Control
Automate irrigation based on the analyzed soil moisture data. Configure rules and algorithms in the IoT platform to trigger irrigation systems when soil moisture levels fall below predetermined thresholds. Optimize the duration and amount of water application based on crop requirements and soil characteristics.
Step 9: Remote Monitoring and Alerts
Utilize the cloud platform's dashboard or mobile application for remote monitoring of soil moisture levels. Stay informed in real-time about any deviations from desired ranges. Set up alert notifications to receive immediate alerts when critical thresholds are reached, ensuring timely action to prevent crop stress or water wastage.

Step 10: Continuous Evaluation and Improvement
Regularly evaluate the performance of your IoT soil moisture monitoring system. Monitor sensor accuracy, data reliability, and the effectiveness of automated irrigation. Make necessary adjustments, such as sensor placement refinement, calibration, or component upgrades, to optimize system efficiency and meet evolving farm requirements.
Congratulations on mastering IoT soil moisture monitoring! By following this comprehensive step-by-step guide, you can effectively implement IoT technology on your farm, enabling precise soil moisture monitoring, efficient irrigation practices, and healthier crop growth. Embrace this transformative technology to optimize your farming operations and contribute to sustainable agricultural practices.


